The following are the 3 most used ceiling painting techniques:
This technique entails painting one even coat of paint on the ceiling. It maintains a simple and clean order of things. Flat white is used very commonly to decrease light reflection. Smooth strokes and adequate coverage are the main ingredients for neatness and consistency.
Textured painting enhances the depth and visual interest of a ceiling. The most common are popcorn, knockdown, or orange peel. Paint is applied with care so that the pattern remains in place. This solution contributes to concealing imperfections and creates a dynamic image of the area.
This approach involves the use of two shades in creating contrast or emphasis of the details of the building architecture. One tone fills the center while another gives the outlines of the borders. It brings style without too much impact on the room. Clean lines and balanced colors differentiate this technique.
Here are the 3 most common ceiling paint finishes:
Flat finish provides a smooth, non-reflective surface. It conceals small flaws and works best on ceilings. It does not reflect the light but absorbs it, hence creating a calm and uniform appearance. This finish is easy to maintain, and those with it keep the attention on the room below.
These finishes provide a gentle shining and a soft gleaming. Their durability is higher than that of flat paint. They may not be used commonly for the ceiling, but they go quite well in the kitchens or bathrooms. They are also easier to clean, and they bring a nice touch of soft brightness into the room.
High gloss has the most reflective and the most durable finish. It is hardly ever used on ceilings, but it can be used to bring out special features. The finish is most effective in extremely clean and smooth regions. It reflects light dramatically, it attracts one’s eyes upward.
The following are the 4 best practices for ceiling painting:
Remove area from the room, cover furniture, and repair any damage to the ceiling. Dust and stains need to be removed for smooth work. Make sure you use painters tape around the edges to prevent drips. Dry and clean surface makes the paint stick well and last longer.
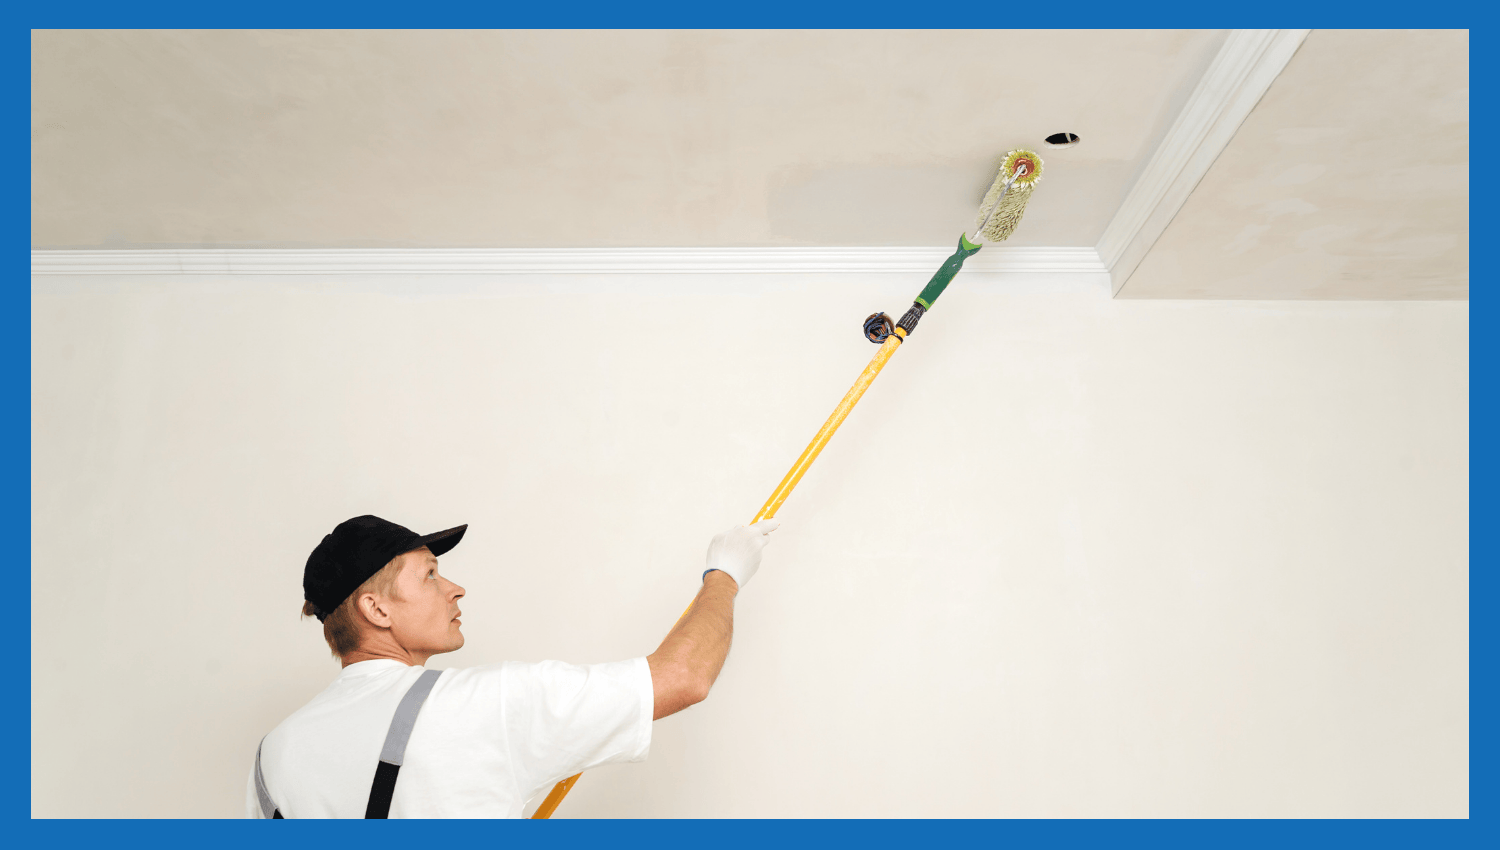
Choose ceiling-specific paint that has good coverage. Use rollers on extension poles when extending is necessary for an even reach. A brush facilitates covering corners and edges. The good grip and quality bristles on the tools give a margin of control and finish.
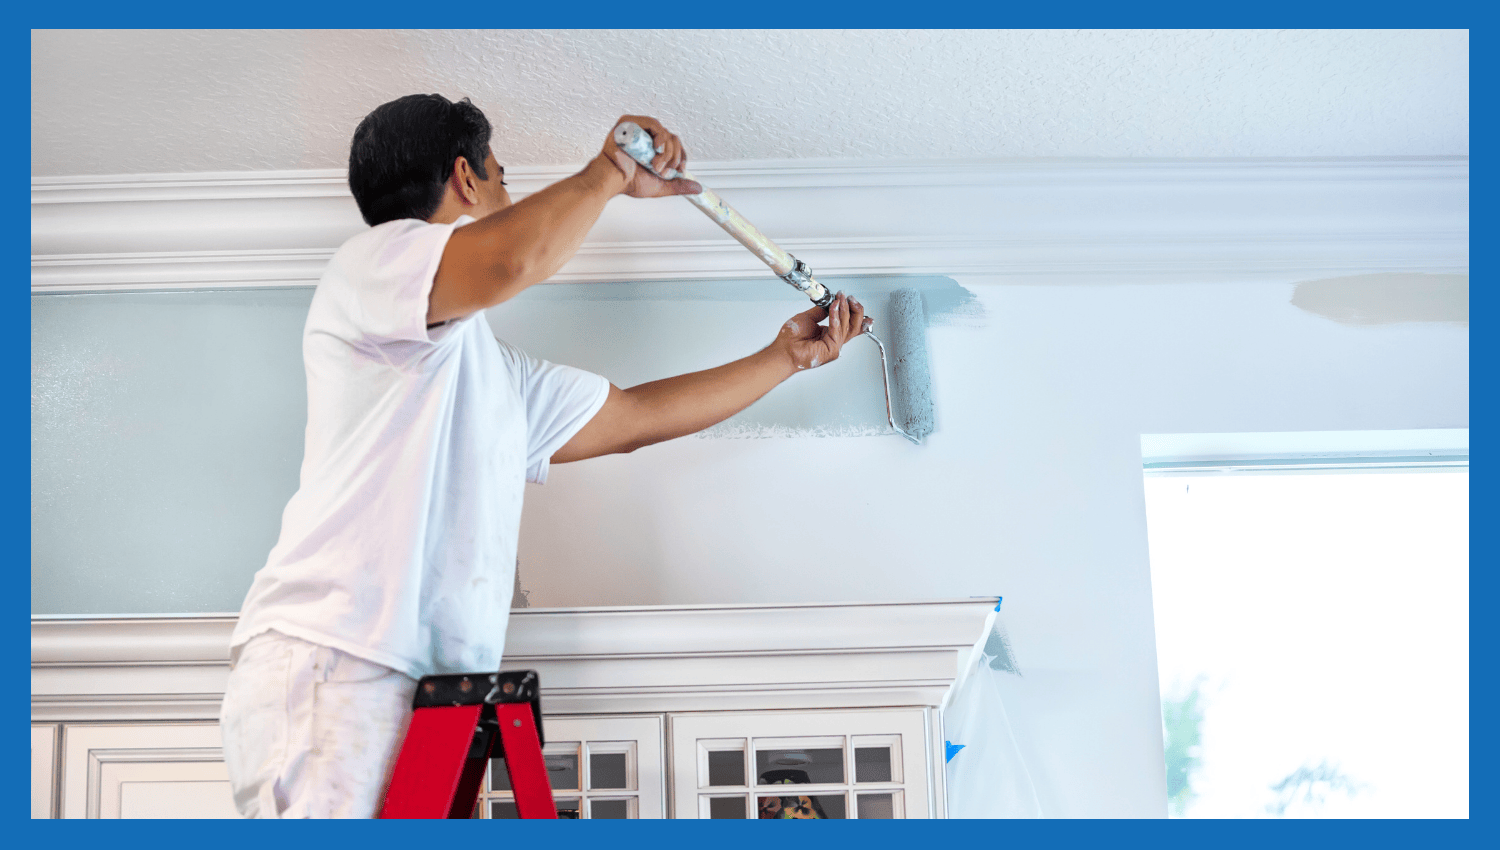
Start at the corner and begin with small sections. Roll in straight, overlapping lines. Maintain a wet edge in order to prevent streaks or lap marks. Don’t overload the roller. When painting, take it easy on the paint so that it spreads out smoothly.
Check for missing spots after it dries. Touch up any uneven areas. Carefully take off tape to prevent peeling of paint. Clean your tools immediately after using them. These small steps give the job an appearance of completion and a clean finish.