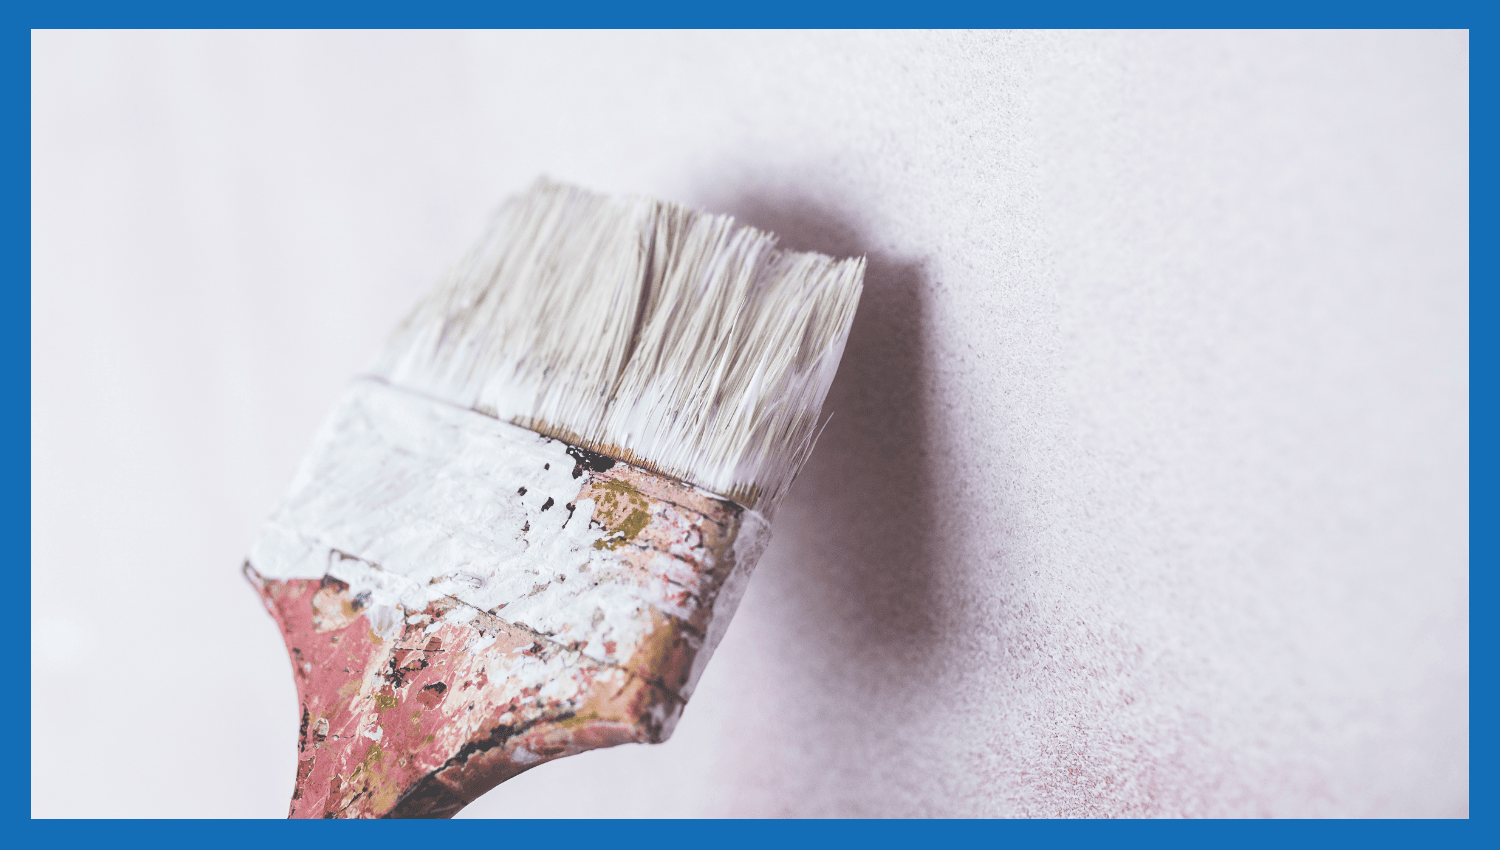
Brush Painting is a process of applying paint with a brush that you hold in your hand. It gives you complete control, so it is best for doing detailed work and shaping edges. It provides a smooth and even finish on almost any type of small surface. It’s especially good for use around borders and on small repairs. Painting with a brush is environmentally friendly and works well for paints of any type. It is commonly chosen for both home renovations and custom work. Brush painting works fine on wood surfaces, furniture, door panels and mouldings. Its high level of precision and fine results place it at the top for interior paint repair and detailing.
Table of Contents
What are the Surfaces Suitable for Brush Painting?
The following are the 4 surfaces that are suitable for brush painting:
- Wood (Interior and Exterior)
- Metal Fixtures and Furniture
- Trim, Doors, and Moulding
- Small Craft and DIY Projects
Wood (Interior and Exterior)
Brush painting works well for treating wooden surfaces on both the inside and outside of buildings. It helps paint go deep into the wood, providing effective coverage that stays. Whether used on a fence, a wall panel or furniture, this method adds texture and covers the surface from moisture, rays of the sun and regular use.
Metal Fixtures and Furniture
Brush painting is perfect for coating railings, gates and furniture. It makes it easy to cover all areas smoothly and evenly, narrow and small areas. It can be used for the smallest metal items to prevent drops and reduce waste. The right primer and paint can also keep rust from happening and make metal stay longer.
Trim, Doors, and Moulding
Trim, doors and moulding are best painted with a brush to gain accuracy and control over the application. It makes it possible to get clean lines and smooth finishes on narrow or small areas. Brush painting covers the edges and grooves well, helping the wood look smooth. It enhances the details of any design while create little mess.
Small Craft and DIY Projects
Brush painting is suitable for making small crafts and doing DIY activities that ask for attention to detail. The brush makes it possible to paint thin layers that do not damage sensitive items such as toys, frames and etc. It is easy to use, highly efficient and works well with many materials and creative effects.
What are the Brush Painting Techniques?
Below are the 4 main techniques for brush painting:
- Choosing the Right Brush Type and Size
- Surface Preparation for Smooth Application
- Brush Stroke Methods (Crosshatch, Feathering, Cutting-in)
- Avoiding Streaks and Brush Marks
Choosing the Right Brush Type and Size
Pick a brush that is suitable for the surface and paint you’re using. Apply paint with your angled brush to corners and edges, and a flat brush for the bigger, smoother parts. Water-based paints do better with synthetic bristles, and oil-based paints are best used with natural bristles. Picking the correct size allows you to move and paint more easily, resulting in neater results and less exhaustion after long painting times.
Here are 3 useful tips for selecting the right brush size:
- Use a 1 to 2-inch wide brush for small trim, edges, and window frames
- Use a 3-inch wide brush for doors, cabinets, and medium-sized surfaces
- Use a 4 to 5-inch wide brush to cover large, flat areas like walls or panels
Surface Preparation for Smooth Application
Make sure to clean the surface well so all dust, grease and old paint are removed. Light sanding increases the paint’s ability to stick. Apply a good primer only when required. Preparing the surface well provides a smooth undercoat, lets less paint soak in and prevents the paint from peeling. Preparing the surface gives you a smooth finish that lasts in fewer coats.
Brush Stroke Methods (Crosshatch, Feathering, Cutting-in)
Painters use cross-hatching to apply brush strokes in a crisscross pattern. The feathering process involves applying a small amount of paint to the area you want that colour. Use cutting-in to make nice, sharp lines along trim, ceilings or angles, avoiding the need for tape. Knowing these methods to paint improves your accuracy, decreases the chance of leaving marks and ensures your paint always looks polished.
Avoiding Streaks and Brush Marks
Be sure to use a good brush and don’t put too much paint on it. Move your hand lightly and always in the direction of the lines or pattern map on the item. Keep your brush strokes wet while painting to smooth the edges of your work. Don’t go over already-dried paint. They soften lines, reduce spots and provide an even, smooth result.
What is the Best Practice for Brush Painting?
Here are the 3 best practices to follow for clean brush painting results:
- Using High-Quality Paint and Brushes
- Applying Thin, Even Coats
- Cleaning and Maintaining Brushes for Reuse
Using High-Quality Paint and Brushes
Choose high-quality brushes and excellent paint from the start. Using the right tools ensures there are fewer lines and that less hair falls out, resulting in a better finish. They allow you to paint with larger areas and provide better control over what you’re doing. Higher-quality paint leads to brighter colors, better protection and lasting benefits. The right materials can make painting easier and the result better.
Applying Thin, Even Coats
Paint each area with thin and controlled amounts of the mix. Using a thick coat results make bubbles, uneven drying and easily noticeable brush marks. Putting on thin coats helps them dry quickly and builds a better finish that lasts. Brush in one direction and remember to keep the paint wet so you can blend each section without making overlaps.
Cleaning and Maintaining Brushes for Reuse
Washing your brushes right after can help them last for a longer time. Always use warm water to clean latex paint, but solvent is needed for oil-based types. Clean the brush well, rinse it and reshape the bristles when it is time to dry. Keep your brushes straight or hanging so the bristles do not get bent. Taking care of them ensures they deliver the same high-quality results all the time.