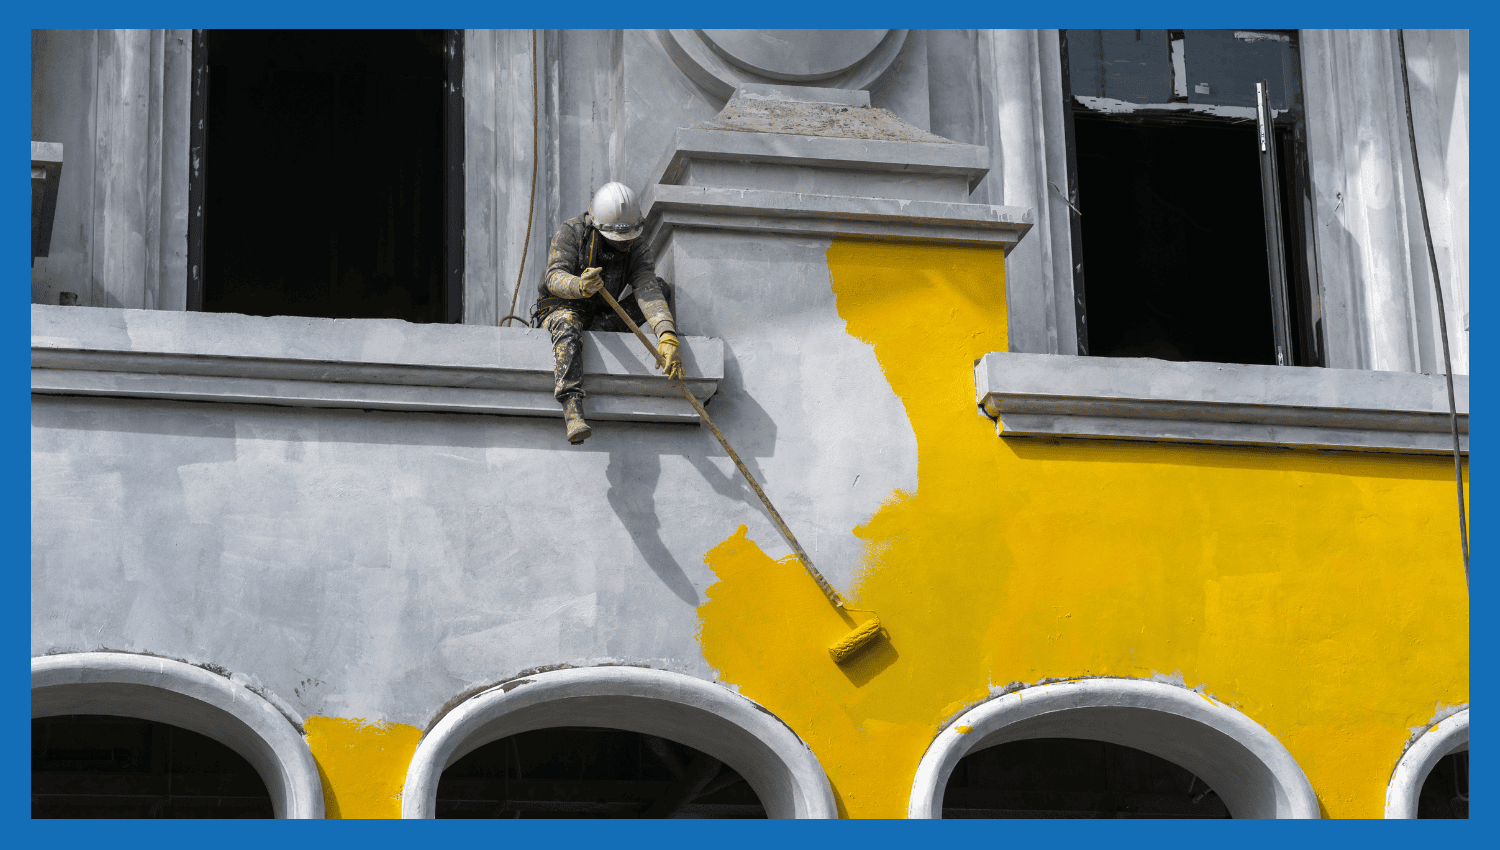
Concrete painting is a process of adding protective and attractive finishes over concrete walls and floors. It is commonly applied to driveways, balconies, garage floors and commercial walkways. It helps keep moisture away from the surface and also reduces wear. It is also able to resist stains, damage caused by ultraviolet light and the effects of weather. Concrete painting gives homeowners many ways to customize their finish and colour. It helps your car stay better on the road and reduces the effort needed to maintain it. When the surface is prepared well, the finish bonds perfectly. Concrete painting helps make surfaces more long-lasting and provides a neat look to areas of both private and industrial buildings.
Table of Contents
What are the Types of Concrete Surfaces?
The following are the 4 most common types of concrete surfaces:
- Broom Concrete
- Troweled Concrete
- Stamped Concrete
- Exposed Aggregate
Broom Concrete
A broom is used to give the wet surface of broom concrete its texture. This creates a surface that’s easy to walk on in driveways, walkways, and balconies. It makes it safer to drive during wet weather and can endure outdoor conditions. Painting broom concrete calls for paint that sticks to the rough texture and is resistant to moisture, stains, and continuous use from foot or vehicle travel.
Troweled Concrete
Troweled concrete is leveled and smoothed after it has been set with the use of either hand or power trowels. The final product is firm and smooth, making this type of flooring popular in basements, warehouses, and garages. It has a stylish appearance that is simple to take care of. Proper preparation is important on a slick surface before you paint. Primers ensure that the paint sticks correctly to the polished concrete.
Stamped Concrete
Stamped concrete is textured to look like brick, slate, stone, or tile once the surface design is set. It looks nice and is often used in patios, around swimming pools, and along walkways. Paintings are needed to handle the roughness and shading. Sealing or painting stamped concrete improves the look of patterns, adds to the color, and protects the concrete against fading and damage.
Exposed Aggregate
Exposed aggregate comes from peeling off the finishing cement layer to show the pebbles or stones in the concrete. It’s a decorative material you often see in driveways and walkways. It is attractive and provides extra safety from drops. Painting aggregate concrete can be done by using coatings that penetrate the rough texture and make the surface more colorful and secure.
What are the Concrete Painting Techniques?
Here are the 4 techniques used to achieve a durable, attractive finish when painting concrete surfaces:
- Surface Cleaning and Etching
- Priming Concrete Surfaces
- Application Methods (Brush, Roller, Sprayer)
- Sealants and Protective Coatings
Surface Cleaning and Etching
The first step in concrete painting is cleaning and etching it. Be sure to clean the environment before you paint and remove any grease or extra coatings. Etching prepares the concrete surface so the paint can stick much better. Etching is usually performed using either a concrete etching solution or muriatic acid. Once etching is completed, the area is dried and rinsed, and only then start to prime or paint.
Priming Concrete Surfaces
Priming seals the pores in concrete and reinforces its connection with paint. They also prevent the excess absorption of paint by the concrete and help achieve a uniform color. They stop paint from flaking or peeling. Choose a primer that is suitable for the kind of concrete and the type of paint you are using. It is necessary to let the primer dry after applying it to ensure it works effectively and lasts long.
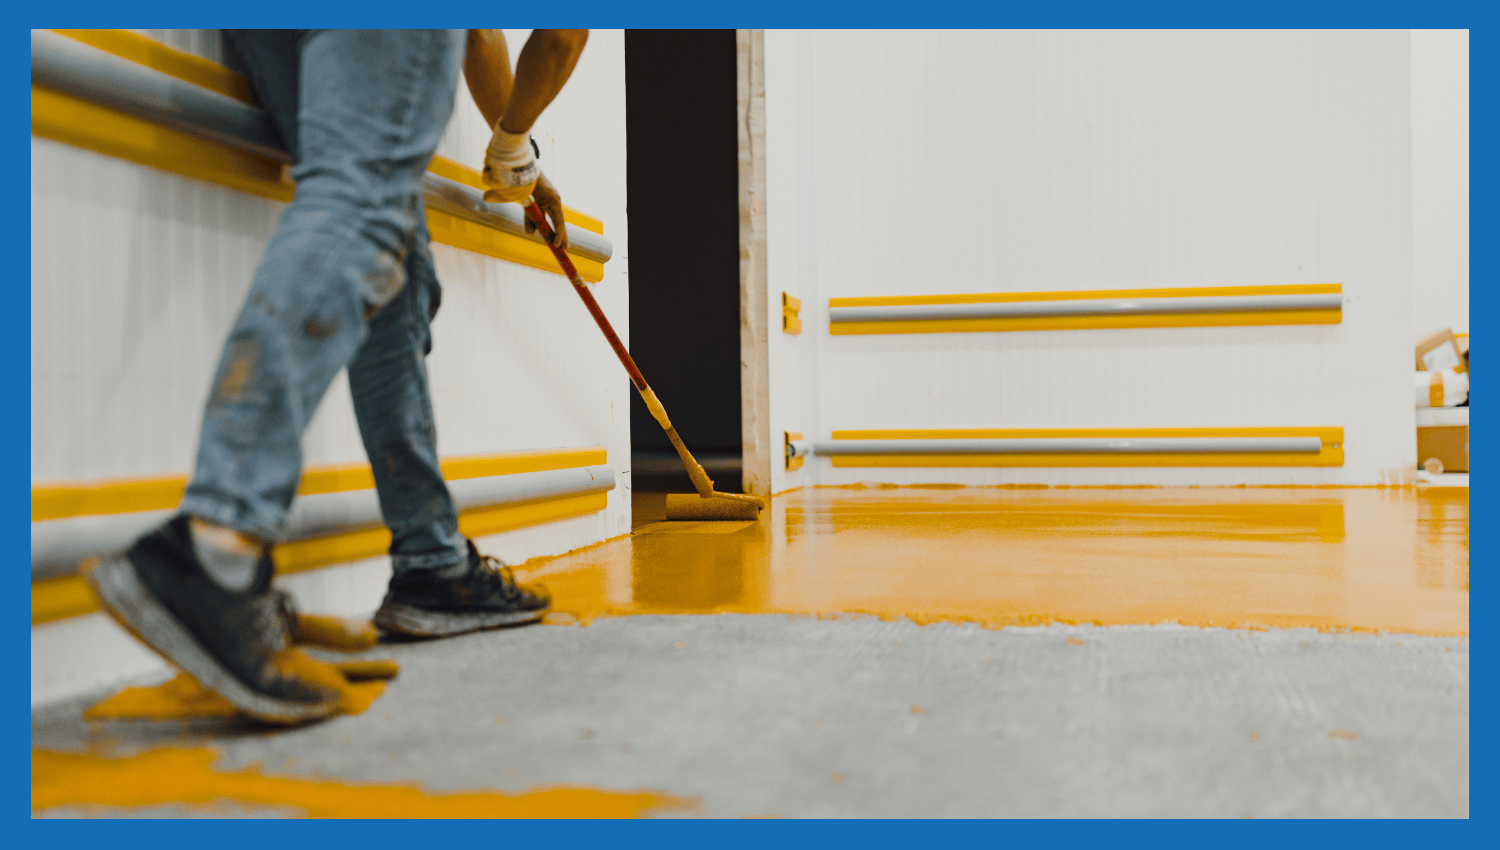
Application Methods (Brush, Roller, Sprayer)
Several different tools are used for painting concrete, depending on what you want the surface to look like. Edges and corners are best painted with a brush, while a large wall or surface needs to be painted with a sprayer, not a roller. Cleaning your window after application can prevent watermarks. If a project requires more detail or is larger in size, one method becomes more useful than the other.
Sealants and Protective Coatings
Sealants and coatings are added after the paint to maintain and protect the surface. They protect surfaces against water, harmful sunlight, stains, and scratches. Acrylic sealers, epoxy coatings, and polyurethane finishes are popular options for coating. Sealers that protect from UV rays and are waterproof are recommended for applying outside. Adding a sealant at the end helps maintain the painting’s color, prevents it from fading, and helps the paint to stay longer.
What is the Best Practice for Concrete Surface Painting?
Here are the 3 best practices to ensure durability and a clean finish when painting concrete surfaces:
- Selecting the Right Paint
- Layering and Finishing
- Drying and Curing
Selecting the Right Paint
Moisture and shifting make it necessary to use paint suited for concrete. Masonry, epoxy-based coatings, and acrylic latex paints are the kinds that contractors use more often. What surface is used, and whether you are inside or outside, determines your choice. Outdoor areas require materials that are both UV-resistant and waterproof. Areas where many people pass by benefit from protective and tough finishes. Applying paint developed for concrete can help prevent the common problems of peeling, chipping, and cracking.
Layering and Finishing
Concrete needs to be painted using fill and tan layers applied in a smooth, non-thick fashion. It is common practice to paint two coats, allowing enough time between for the paint to dry properly. Paint can peel and dry improperly if the layers are applied unevenly or too thick. The final coat provides both durability and an attractive look to the paint. Having a glossy or matte finish, the topcoat helps the surface control stains and harsh weather.
Drying and Curing
Good drying and curing are necessary for lasting results. Always wait until the paint is dry before adding another layer. Temperature, humidity, and the type of product can affect how much time is needed for it to cure. It is important not to rush this step of the baking process, as doing so can lead to bubbles, cracks, and baked goods that don’t stick well. It minimizes damage and lets the coating be used when the curing process is complete, and the ground is not used.